Introduction
My Project
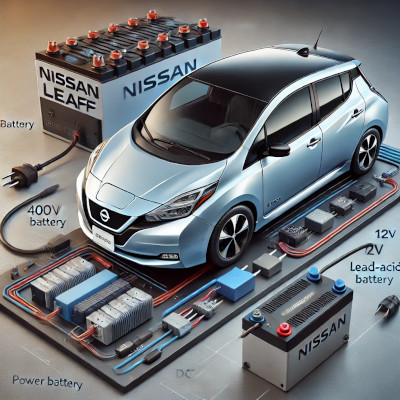
Let me briefly explain why I need this. I’m trying to connect an additional high-voltage battery to a Nissan Leaf, but I’m not doing it the usual way (more details can be found here).
.I plan to charge the high-voltage car battery from an additional 12V or 24V battery in the trunk. I intend to write a separate article on why this solution is better than the "classic" approaches.
For now, I need a DC-DC 12V->400V or 24V->400V converter. Ideally, I’d like to have 3 kW of power, but that’s just a dream. As a trial model, 500W would be sufficient.
Existing Solutions
400W
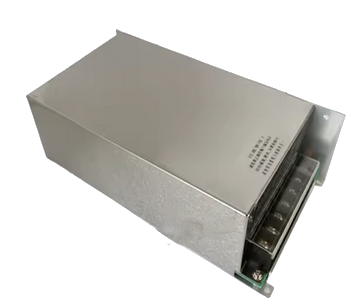
Why put in a lot of effort if there's something ready-made? There is a 400W module available. There's even a YouTube video showing it receiving 200-300W from solar panels on the roof of a Nissan eNV-200 and successfully charging the car battery.
However, there are two issues: it’s expensive and bulky. One 400W module costs 260 euro. To get 3 kW, I would need eight of them, totaling 2080 EUR! Plus, they would take up half the trunk space!
960W and 1200W Modules
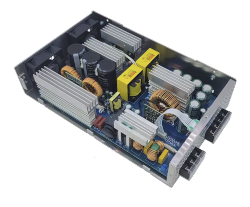
While writing this article, I found new modules! They are more powerful and slightly cheaper overall: 24VDC->400VDC 960W costs about 400 EUR. Three modules = 1200 EUR.
12/24/36/48 VDC -> 400VDC 1200W also costs about 400 EUR. Three modules = 1200 EUR for 3600W, or 800 EUR for 2400W.This is already better, but I’m still reluctant to spend that much money.
220VAC -> 400VDC 3 kW
An interesting approach is to use a 12V->220V inverter and then an AC-DC step-up converter. The inverter could be useful on its own later.
220VAC -> 400VDC 3 kW costs about 430 EUR. A cheap inverter costs around 110 EUR. Total: 540 EUR for 3 kW—an acceptable price. If this option had been available a year ago when I started developing my own DC-DC converter, I probably would have chosen it. But now, at least I have a backup plan if my design doesn’t work out.
Budget-friendly: A 500W Module from AliExpress for 15 EUR
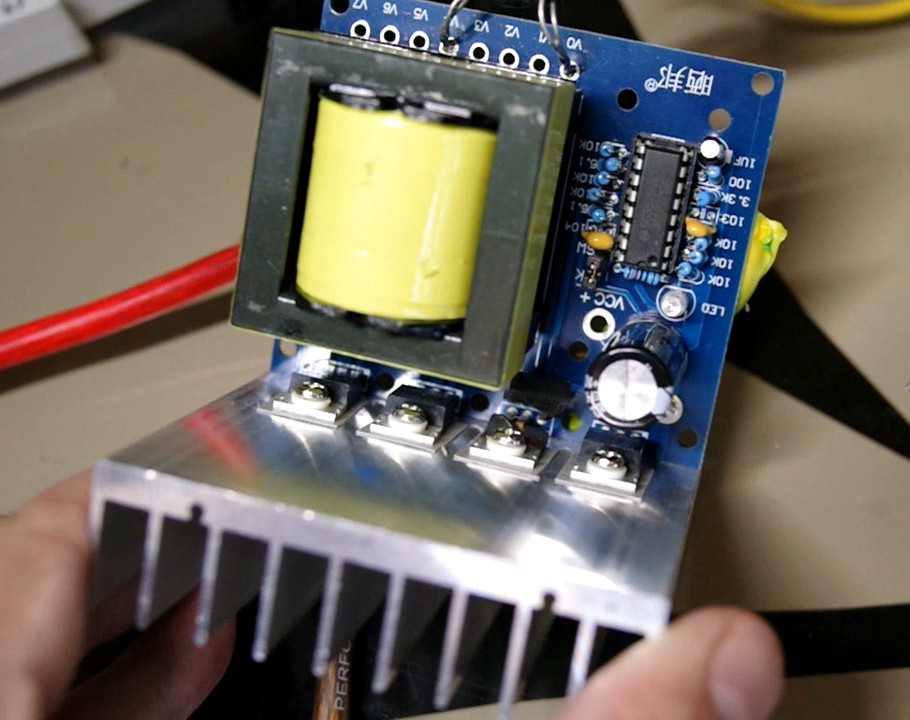
When I bought this module, the only ready-made DC-DC converter available was 400W.
Buying 400W for 260 EUR or 500W for 15 euro. What’s the difference? One is in a case and looks industrial, while the other is DIY and uncased.
Yes, the Chinese module is DC-AC, meaning you need to add a rectifier, a capacitor, and a feedback circuit to set the voltage. But that costs next to nothing!
I hoped to get at least 200-300W out of it, which would already be a win. In the worst case, I could put ten modules in a single box and get 3 kW for just 150 euro!
At best, this module serves as a starter kit for experiments. The most valuable part of any DC-DC converter is the transformer. Here, I get a transformer plus a free control chip and MOSFETs for about the same price!
Technology keeps advancing, and better transistors could help squeeze even more power out of this DC-DC converter.
No, I don’t actually plan to put ten of these in a big box. Instead, I might use a more powerful transformer and ideally have four transformers controlled by a single controller—this would be much more compact.
What’s Inside the Chinese 400V DC-DC Module?
- SG2525 chip – a very popular IC used in inverters. It generates clock signals for MOSFET transistors and allows various parameters to be adjusted using external resistors.
- MOSFET transistors (IRF3205) – 4 pcs. (two transistors in parallel per primary winding of the transformer).
- Transformer: EC42 – If this transformer turns out to be good, I now know its model and can order more.
Testing
Connection
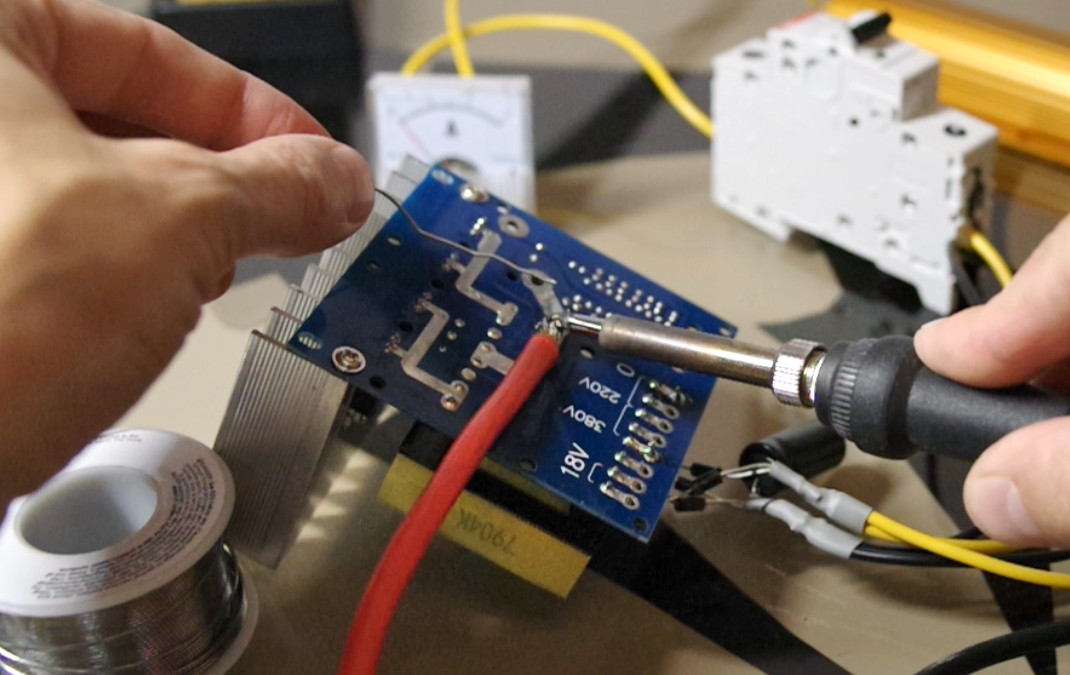
I soldered thick 8AWG (8.3 mm²) wires, which should handle about 40A.40A × 12V = 480W—not much margin, but it should be enough.
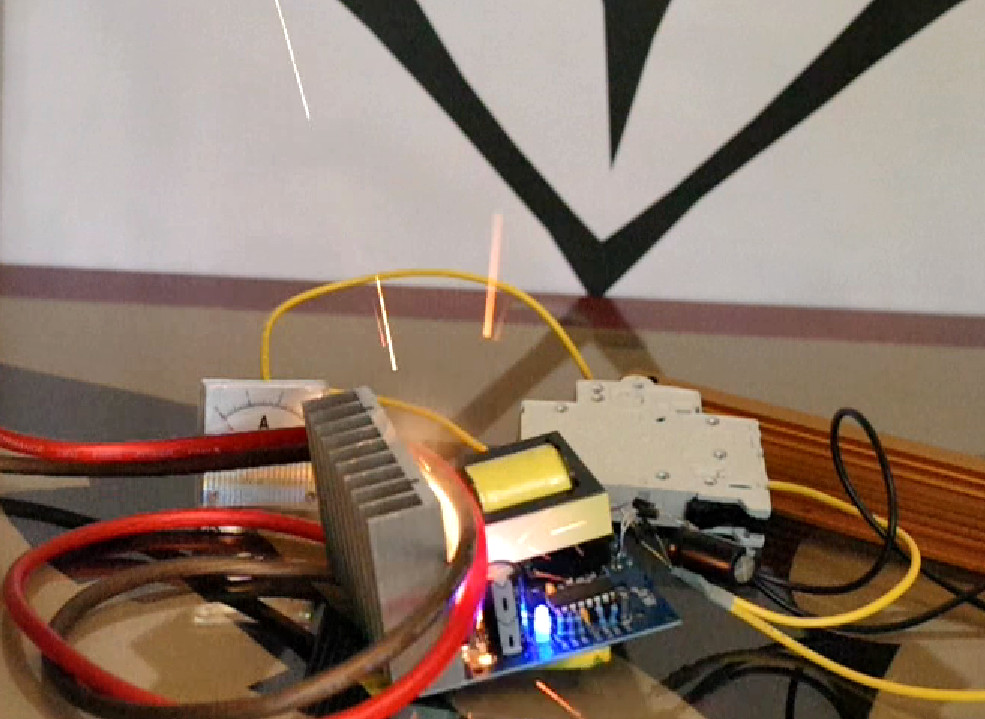
I crimped the terminals, connected them to the battery, and…When I connected the terminal to the battery, a big spark appeared, something flared up, and smoke came out.
Yep… the Chinese DC-DC was clearly not ready for this. I’m not sure if a fuse would have saved the burned transistors—it seems unlikely; they would have burned out anyway.
What Went Wrong?
I won’t go into all the details of my days of troubleshooting, buying an oscilloscope, and replacing the transistors twice. Instead, I’ll jump to the final conclusion.The issue was startup behavior. Although the SG2525 has a soft-start feature, it wasn’t working for some reason.
I don’t know exactly why the transistors burned out when connected to the battery, but my guess is the following: As soon as SG2525 is powered on, some signal appears at the output, partially turning on one or two MOSFETs. A partially open transistor overheats rapidly and burns out (even damaging the gate and burning a resistor on the board). This leads to a short circuit, massive current flow, a bright flash, and smoke.
Solution: Add an Enable ButtonA simple fix is to add an external enable button. The SG2525 gets power along with the transistors but starts in a disabled mode.
Pressing the button activates the output signal, preventing the transistors from being partially open at startup.
This also acts as a safety shutdown in case something goes wrong.
Second Hypothesis: Inductive Spikes
Another possible cause is inductive voltage spikes. When current flow to a transformer is interrupted, it can generate a high-voltage spike, potentially much higher than the supply voltage. Since these MOSFETs are rated for 55V, such spikes could easily kill them.
I need to check drain-source and gate voltage with an oscilloscope. If there are large spikes, I’ll need to add protection circuits. I hope to test this in one of my upcoming articles.
Success! What Output Power Did I Achieve?
The transistors burned several more times as I pushed the DC-DC converter beyond 300W.
However, up to 300W, it works relatively stably.
This research isn’t over yet. You’re probably wondering about efficiency and whether it can be improved.
That’s exactly what Part 2 will cover! I’ll experiment with different chip configurations and measure the efficiency of the converter.
Stay tuned for updates!