

Introduction: Building a 3D Printer Under 200$


Hello everyone
In this instructable I will show you how to make a 3d printer under 200$.
This 3D printer -Tower Simple XL, Maybe I should call it 3D printer of Sauron, lol.
This 3D printer have 6* 6* 6 Inches build volum and you can build it without any 3Dprint part.(*Laser cutting needed*)
If you like this instructable, comment and share this project with your friends who might like this instructable.
Thanks very much.
Step 1: Mechanical Parts List


I buy these things on Alibaba, these things will be more expensive on ebay.
This is the reason why I can build 3D printer under 200$.
M3 10mm screws *29
M3 16mm screws *48
M3 nuts *42
M4 16mm screws *4
M4 nuts *4
M4 shim *4
624 bearing *4
T8 Leadscrew 285mm *1
Leadscrew nuts *1
M3 spring 8mm *5
M5 spring 20mm *1
Coupler 5mm to 8mm *1
M3 pillars 16mm *5
M3 pillars 60mm *1
MXL 20T pulley *2
MXL belt *2
Cylinder Liner Rail Linear 8-215MM *4
Cylinder Liner Rail Linear 8-340MM *2
End stop *3
Nema 17 *4
Step 2: Lasercut Parts

Download lasercut files from this thingiverse link:
Step 3: Laser Cut Wood


Laser cutting by 6 mm wood board
Step 4: Laser Cut Acrylic


Laser cutting by 6 mm acrylic
Step 5: Fixed Stepper Motors and 624 Bearings to Acrylic


Use m3 *10mm screws attach the nema 17 stepper motor to the acrylic piece
Step 6: Build the Main Body


Install acrylic part into main body
in this step we need to use the laser cut parts that i point out highlight
- Laser cut parts 1 &4 &5 &12 &16
Step 7: Mount the Leadscrew Nut


Mount the leadscrew nut into nut holder piece
in this step we need to use the laser cut part that i point out highlight
- Laser cut parts 8 &10
Step 8:


- First attach parts 9 and 11
- Then fit the two onto part 13
- Third attach previous assembly to the end of part 14
- Then add part 3 to the other end as depicted
- Fifth attach part 2 to the previously assembled parts
Step 9:


1:
- Zip tie bearings on to base plate as demonstrated
- Make sure to put the nub of the zip ties as shown
- Place smooth rods through the bearings to ensure alignment as zip ties are tightened
- Use pliers to tighten zip-ties as much as possible but be aware of the fragility of the wood
2:
- Zip-tie the bearings onto acrylic part as depicted
- Place smooth rods though bearings while zip-tying to ensure they are straight and parallel
- Tighten zip-ties using pliers
Step 10:


- Insert smooth rods into bearings
- Secure the previously assembled piece to smooth rods with a zip-tie on each end
- Make sure the zip-tie nobs are on the outer side of the assembly (otherwise they will obstruct y-axis movement)
Step 11:

- Insert smooth rods into LM8UU bearings
- Attach part 7 to rest of assembly by zip-tying it onto smooth rods- Make sure the nubs of the zip-ties are on the outer side of the print platform
- Make sure the M3 16mm screw is on the left side of the print platform
-Attach X axis MXL belt to wood part 7
Step 12:

-Attach the nema 17 stepper motor to wood part 4
-Attach Z axis endstop to wood part 4 with wood part 15
Step 13:

-Attach X axis endstop to wood part 4 on left side
-Attach M3*16 pillars to wood part 7
-Attach M3*16 screw with two M3 nuts to wood part 7
Step 14:

-Attach Y axis endstop to acrylic part on left side
-Insert the M3*16 screw through the wood part 8
-Then insert M3*60 pillar and M3 spring 8mm to the screw (to hit the Z endstop)
Step 15:

-Then insert M3*16 screw and M3 spring 8mm to the M3*16 pillars on wood part 6
And now we have successfully assembled a Tower Simple XL mechanical parts.
Next time i will publish the updated firmware and electronic parts assembly guide.
Step 16: Electronic Parts List


1. LCD 2004 *1
2. Arduino Mega 2560 *1
3. Ramps 1.4 *1
4. A4988 StepStick Stepper Motor Driver *4
5. 12V 40W Heating pipe *1
6. NTC Thermistor 100k
Step 17: Upload Firmware to Arduino Mega2560
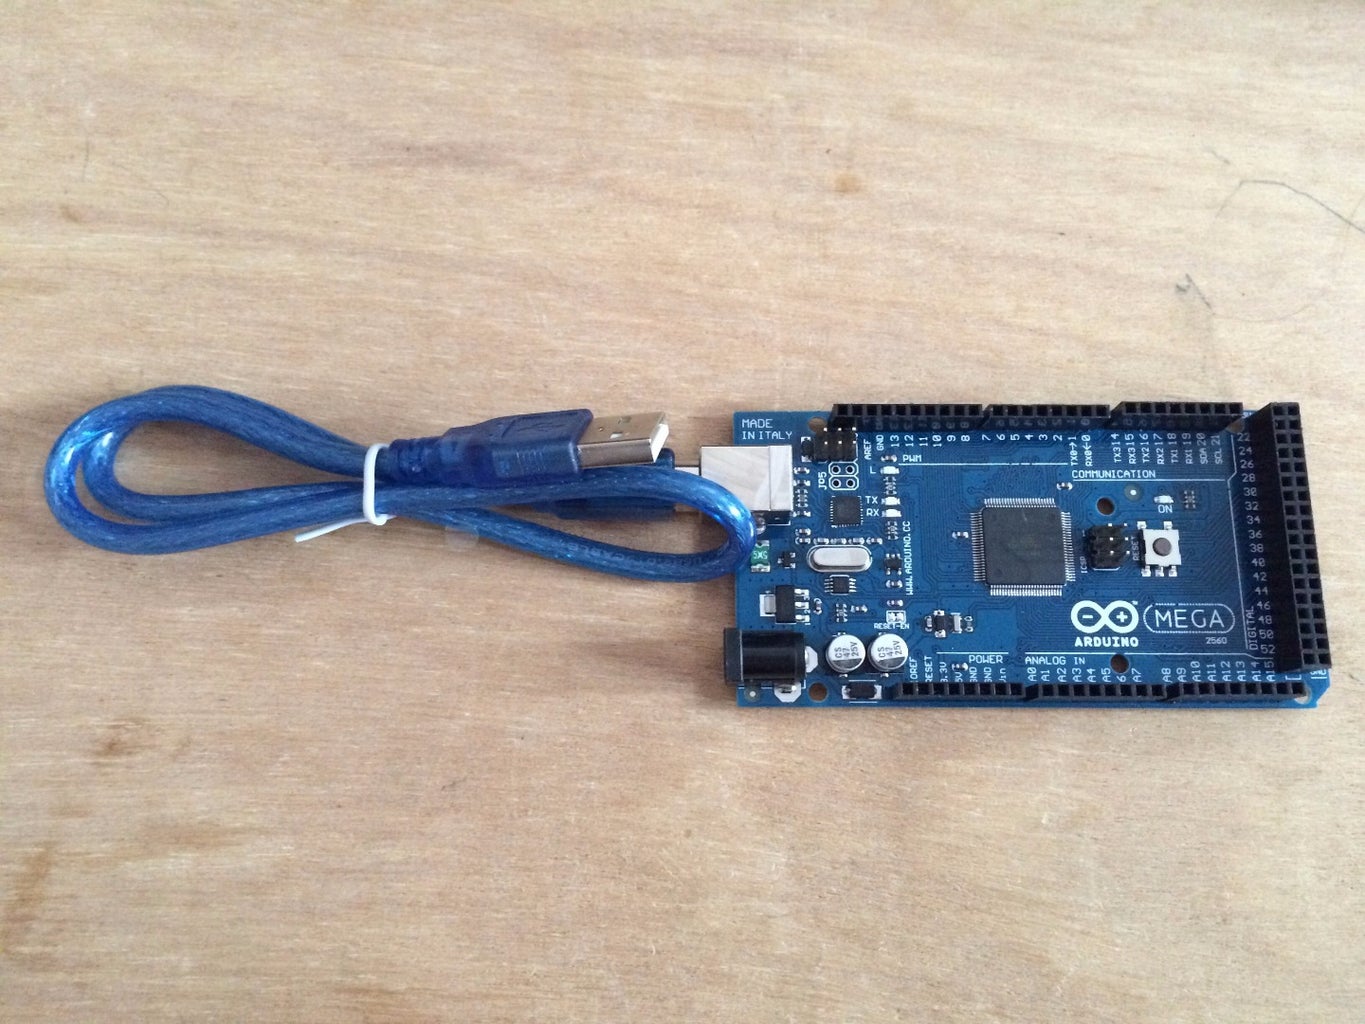


1.Connecting Arduino Mega 2560 to computer.
2.Click install custom firmware.
3.Choose "TowerSimpleXL-2004" to upload (Ignore Warnings).
Download hex file from this thingiverse link:
Step 18:


1. Attach A4988 StepStick Stepper Motor Driver to Ramps 1.4 motherboard.
2. Attach LCD 2004 to Ramps 1.4 motherboard.
3. Attach Ramps 1.4 motherboard to Arduino Mega 2560.
Step 19:


Connect the power, more than 6 amps of 12v power supply.
I also designed a control box to install the control panel.
Download control box file from this thingiverse link:
Step 20: The Most Important Step


This is the most important step, I know you can't understand schematics, so, i hope you can understand the picture that i made.
Wiki of Ramps: http://www.reprap.org/wiki/Ramps
Step 21: Light It Up and Print Something


Finally completed.
Test, I print a xiaomi yi camera mount to replace the previous version and it works well. so meme.
Download xiaomi yi carera files from this thingiverse link:
Step 22: Place for Filament Roll


1. M4 shim *4
2. M4 16mm screws *4
3. M4 nuts *4
4. 624 bearing *4
5. Pipes 90mm diameter 13mm *2
This pipe can fit 624 bearing very well.
Step 23:


Attach M4 screws, M4 shims, 624 bearing and M4 nuts on mainbody.
It is convenient to roll filament.
If you like this instructable, please vote me on "3D Printing Contest" , comment and share this project with your friends who might like this instructable.
Thanks for watch.

Runner Up in the
3D Printing Contest


